Digital Marketing Course
Google search console
Google Search Console (formerly Google Webmaster Tools) is a free platform for anyone with a website to monitor how Google views their site and optimize its organic presence. That includes viewing your referring domains, mobile site performance, rich search results, and highest-traffic queries and pages.
It provides essential marketing data that you need to start tracking from day one. It also alerts you about errors, security issues, and indexing problems that may affect your website’s search rankings.
Getting Started With the
Google Search Console

In this chapter I’ll show you how to use the Search Console. First, you’ll learn how to add your site to the GSC. Then, I’ll help you make sure your site settings are good to go.
Step #1: How to Add Your Site to the GSC
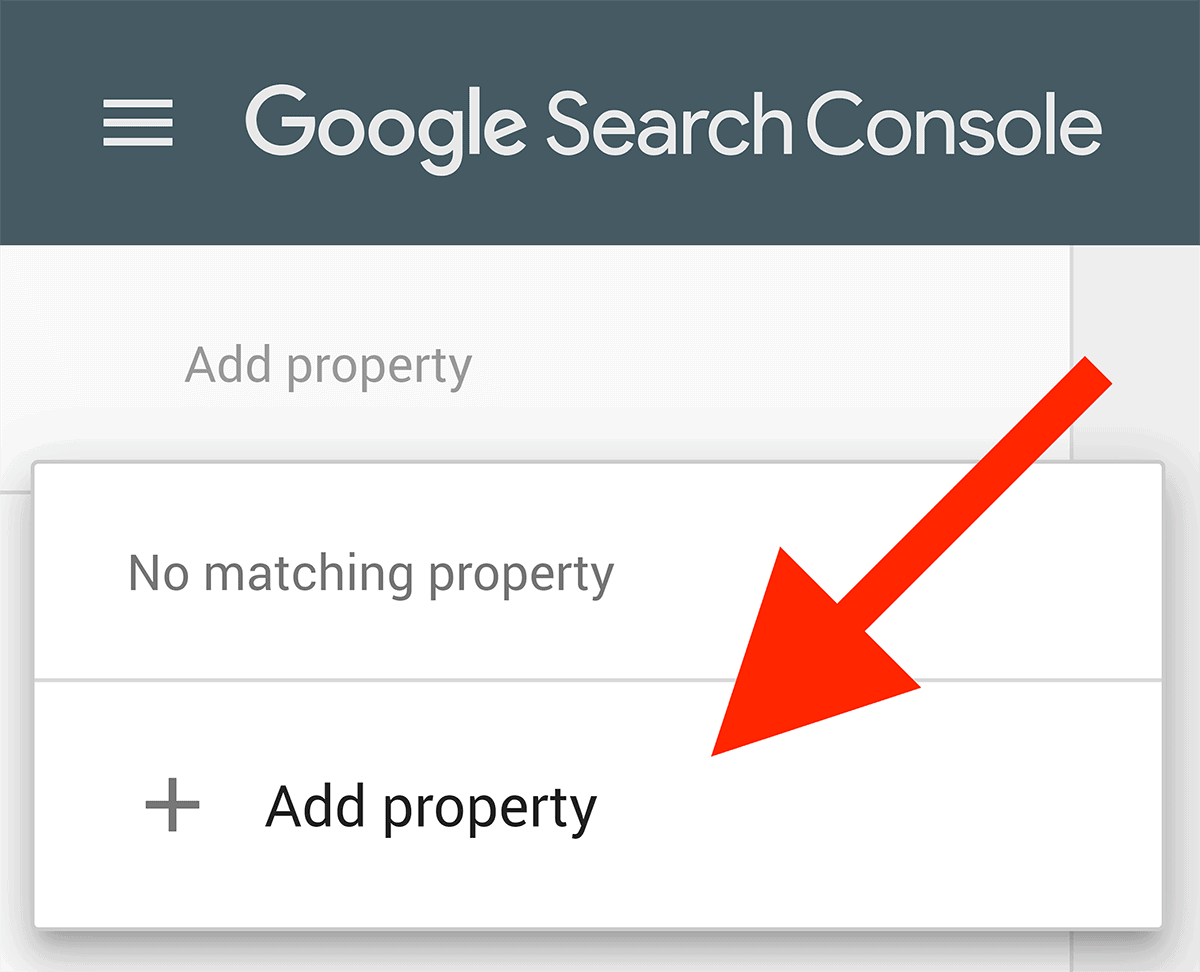
First, log in to the Google Search Console and click on “Add Property”.
Then, copy and paste your homepage URL into the “Domain” field.
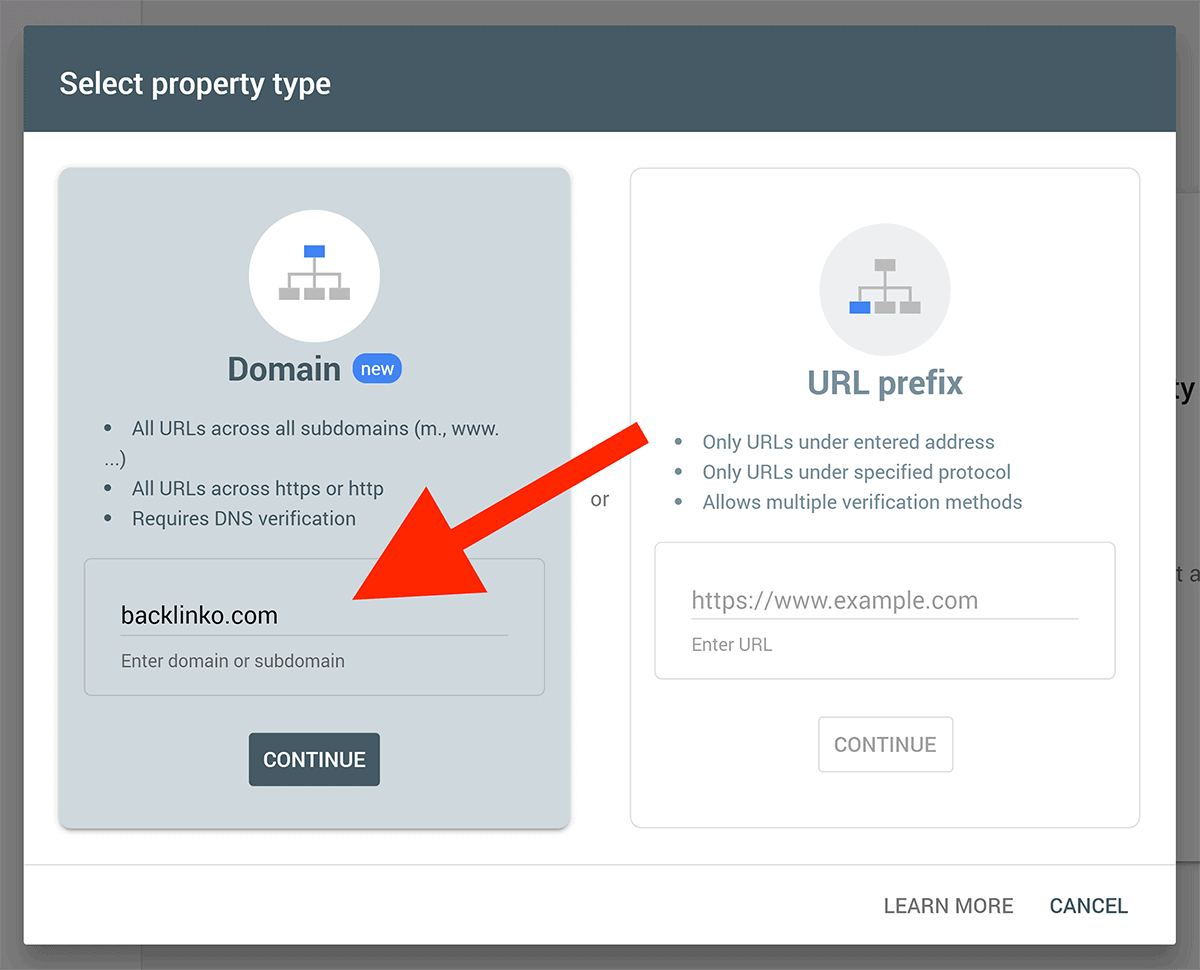
Next, it’s time to verify your site.
There are 7 ways to verify your site. Here are the 3 easiest ways to get your site verified:
- HTML File: Upload a unique HTML file to your site.
- CNAME or TXT Record: Here’s where you add a special CNAME or TXT record to your domain settings.
- HTML Code Snippet (my personal recommendation): Simply upload a small snippet of code (an HTML tag) to the <head> section of your homepage’s code.
Once you’ve done that, you can proceed to step 2.
Step #2: Set Your Target Country
Google does a pretty good job figuring out which country your site is targeting. To do that, they look at data like:
- Your ccTLD (for example: co.uk for UK sites)
- The address listed on your website
- Your server location
- The country you get most backlinks from
- The language your content is written in (English, French etc.)
That said, the more information you can give Google, the better.
So the next step is to set your target country inside the (old) GSC.
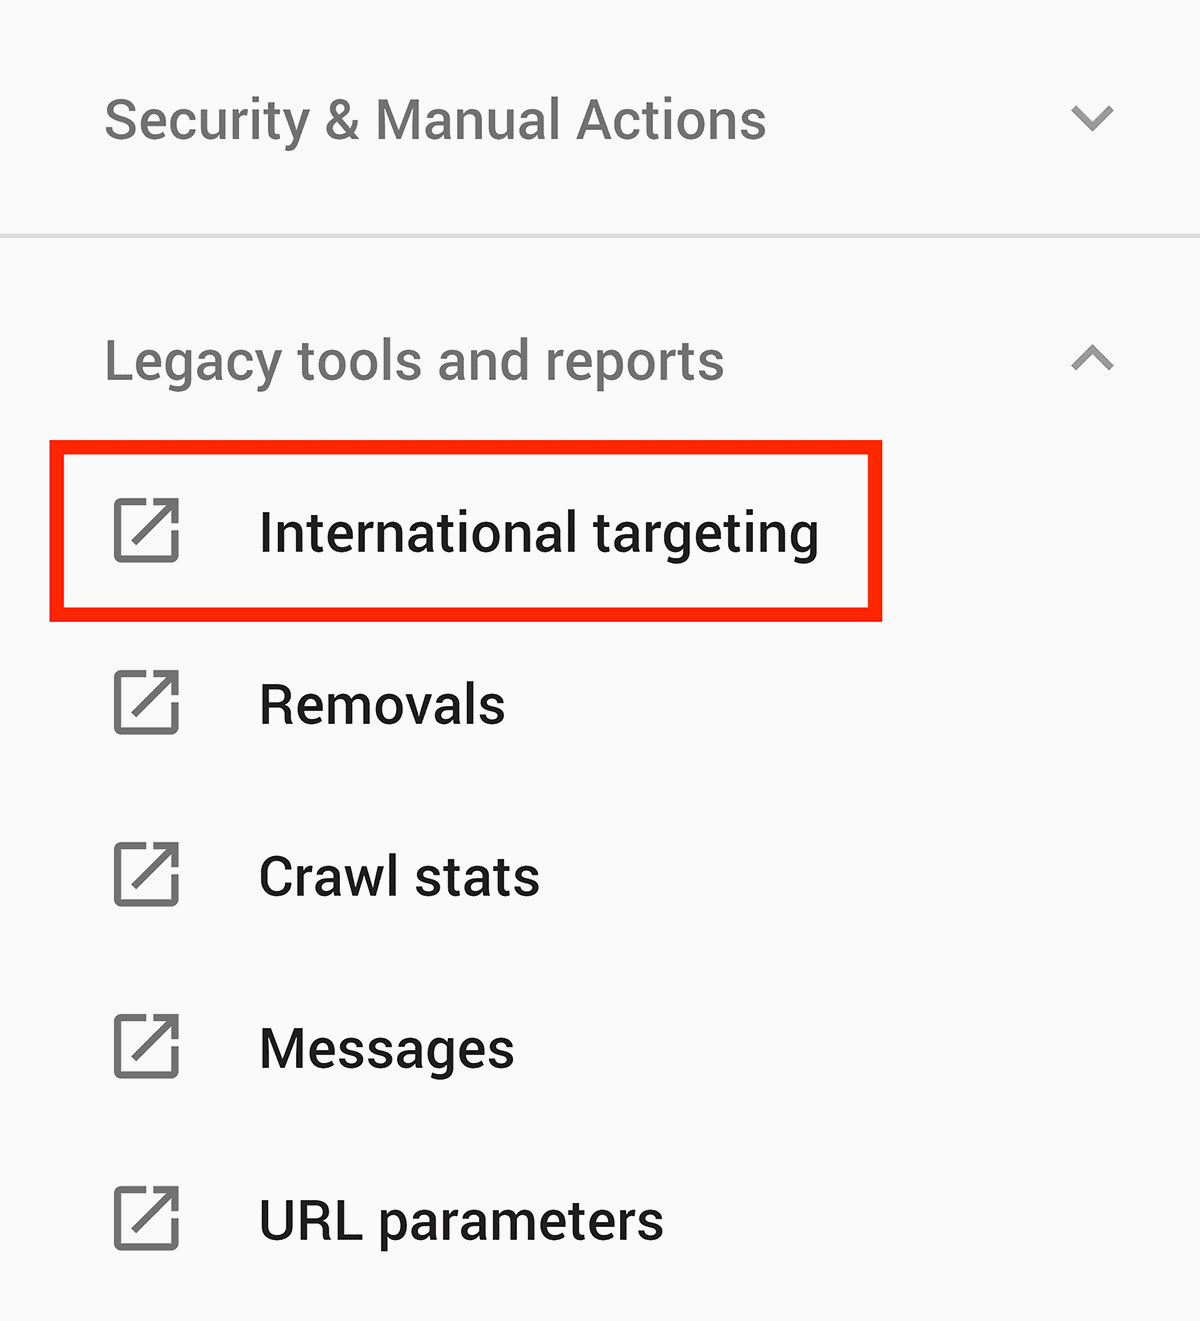
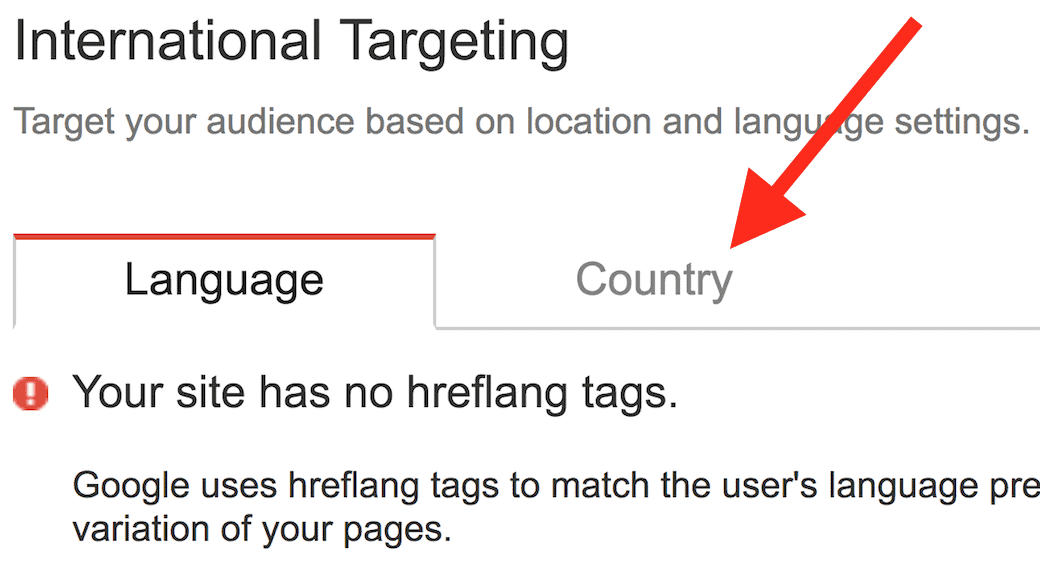
Click the “International Targeting” link (under “Search Traffic”)
Click the “Country” tab
Check the “Target users in” box

Select your target country from the drop-down box
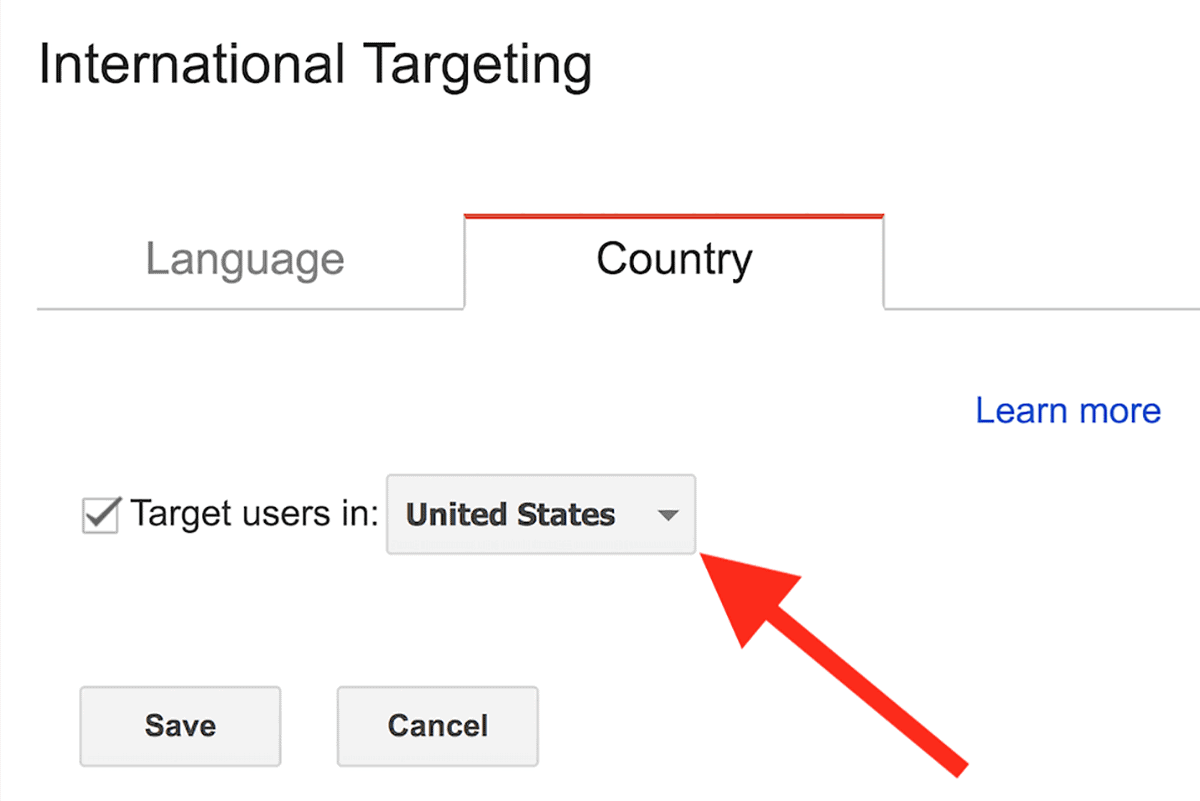
And you’re all set.
Step #3: Link Google Analytics With Search Console
Back in 2013, Google switched all searches over to HTTPS.

This was great for security. But it was a bummer for website owners.
Suddenly, priceless keyword data vanished from Google Analytics.
Instead, all we got was this:
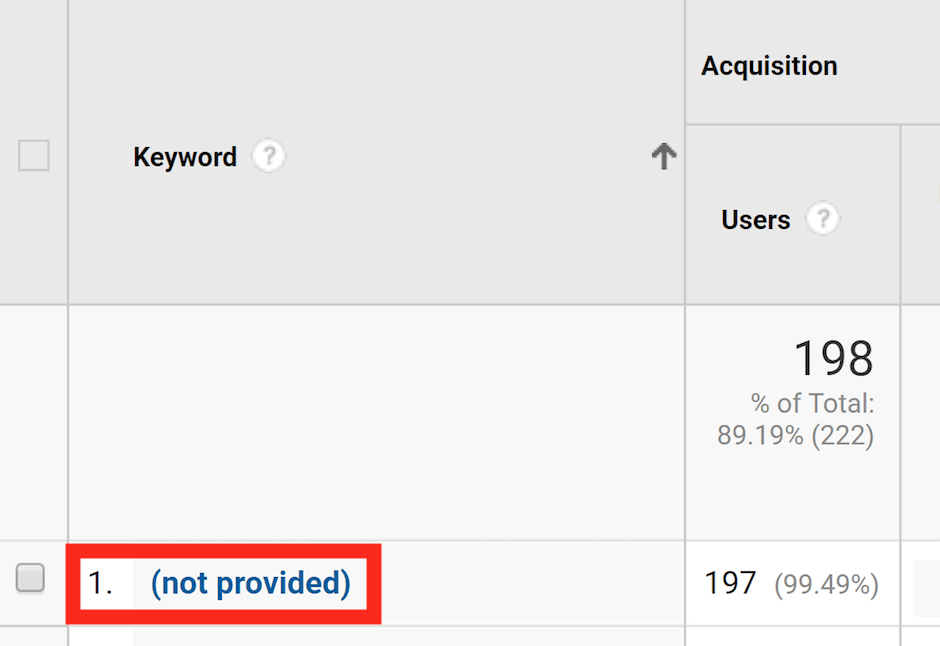
The good news? There’s a simple way to get some of that keyword data back:
Link Google Analytics with your Google Search Console account.
Here’s how:
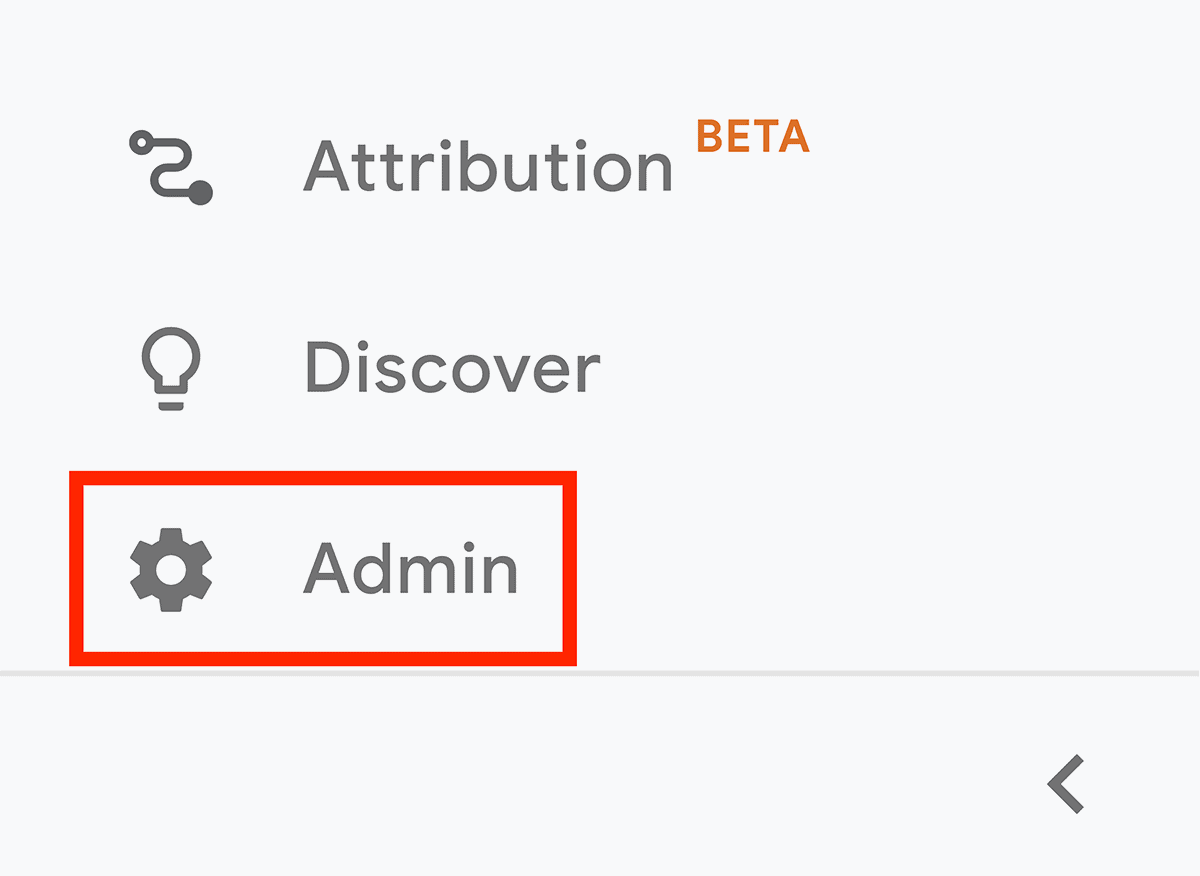
Open up your Google Analytics. Then, click the “Admin” button at the bottom of the left menu.
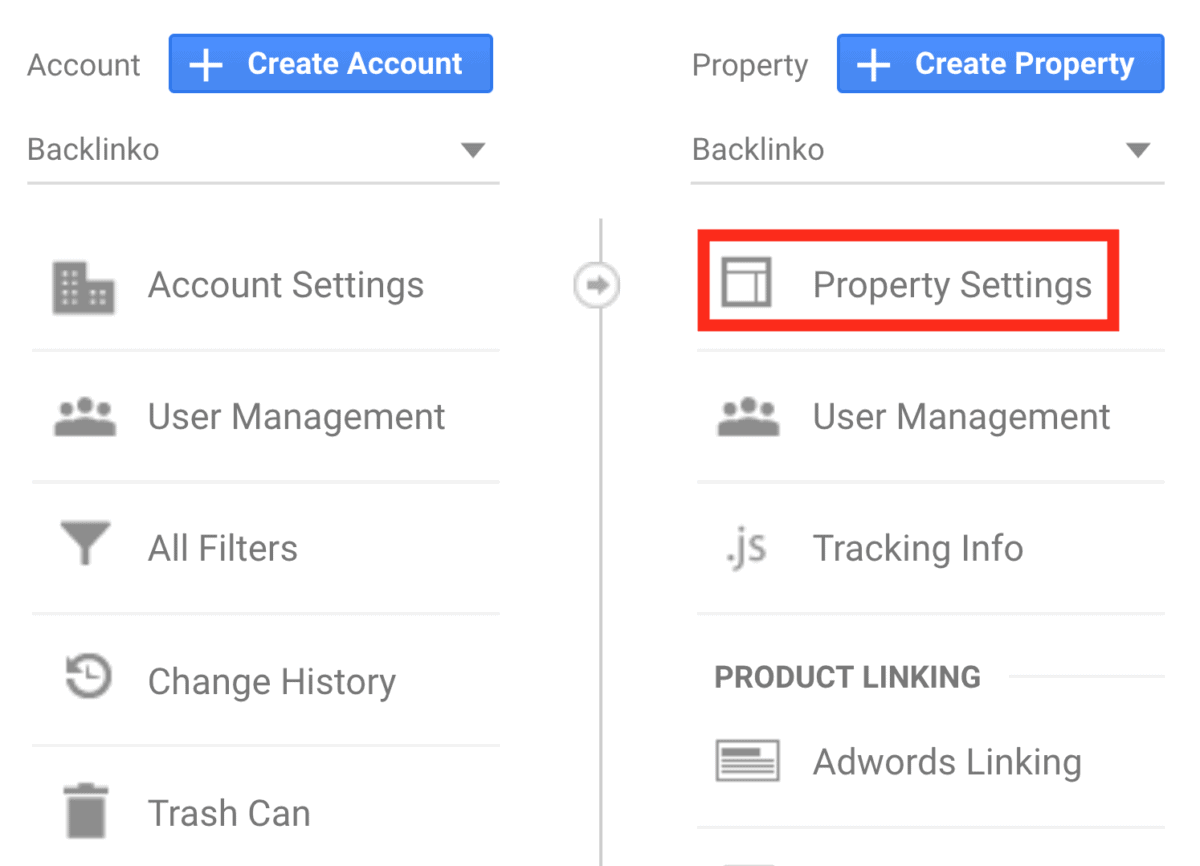
Click on the “Property Settings” link.
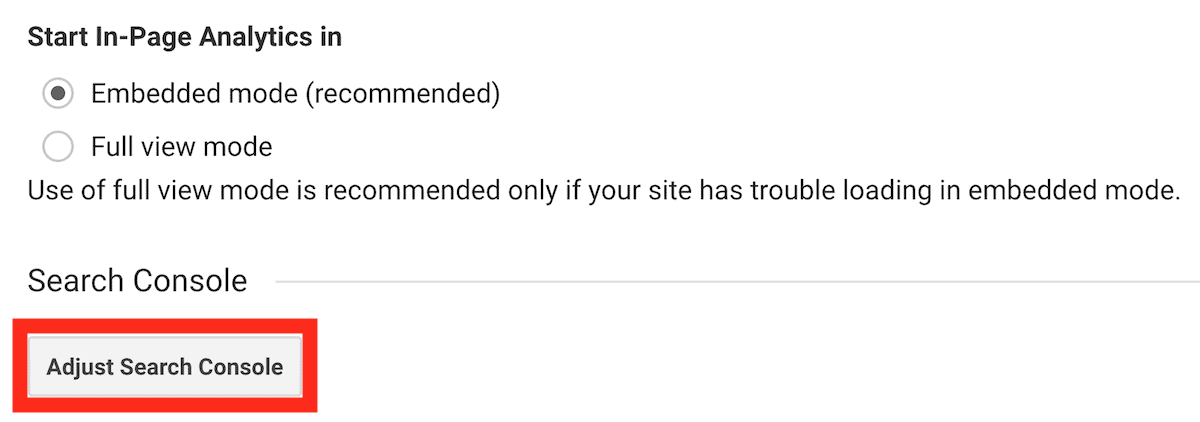
Scroll down until you see the “Adjust Search Console” button. Click it!
Click on “Add”.

Scroll down until you find your website, check the box, and hit “Save”.

You’re done! Analytics and Search Console are now linked.
Let’s see what you get…
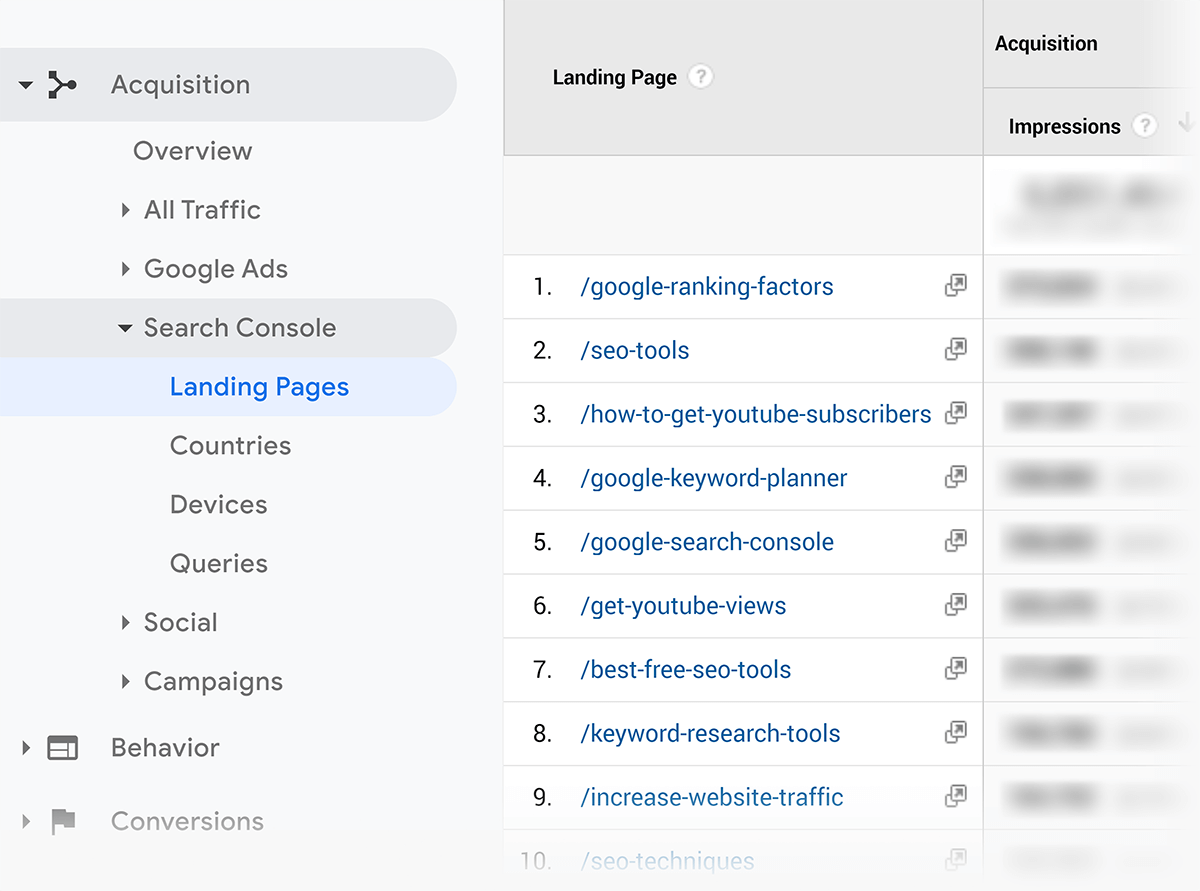
Landing pages with impression and click data:
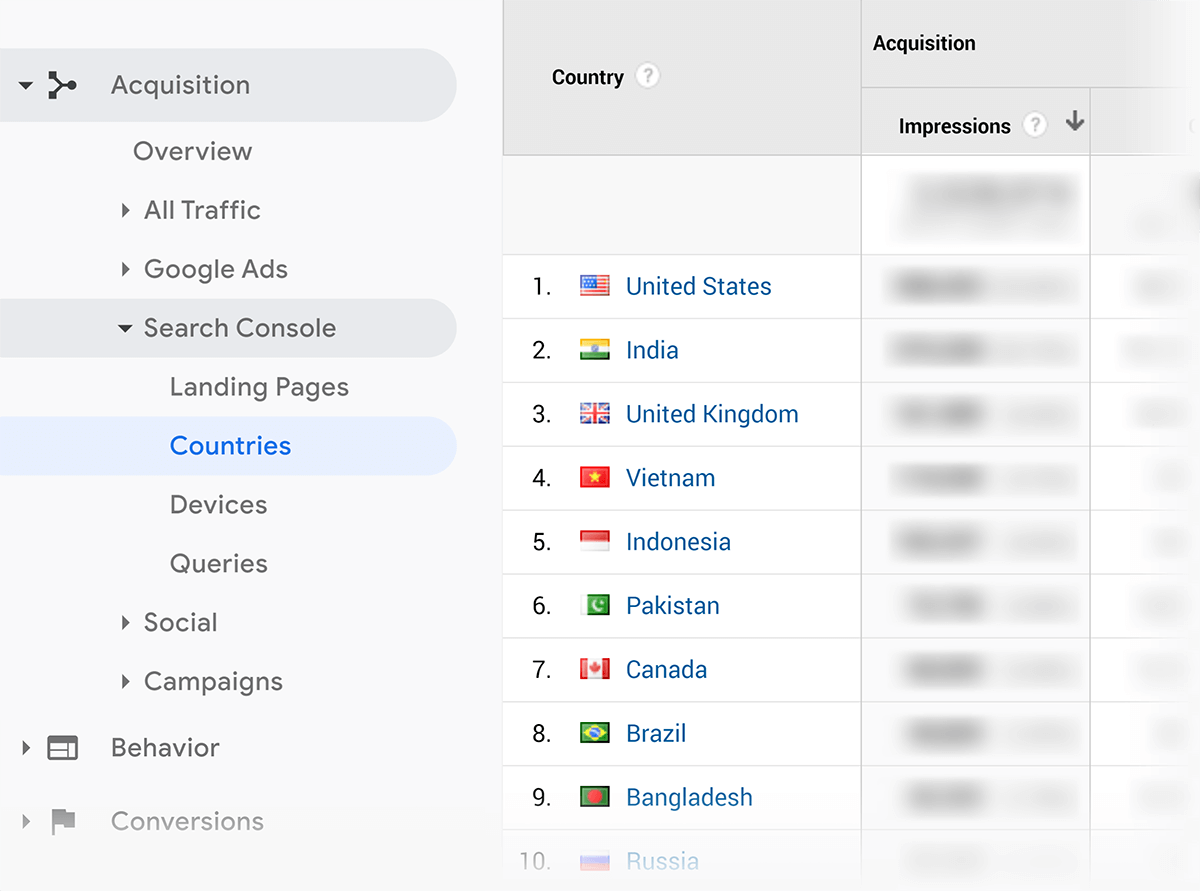
Impression, click, CTR, and position data by country:
But most importantly… keyword data:
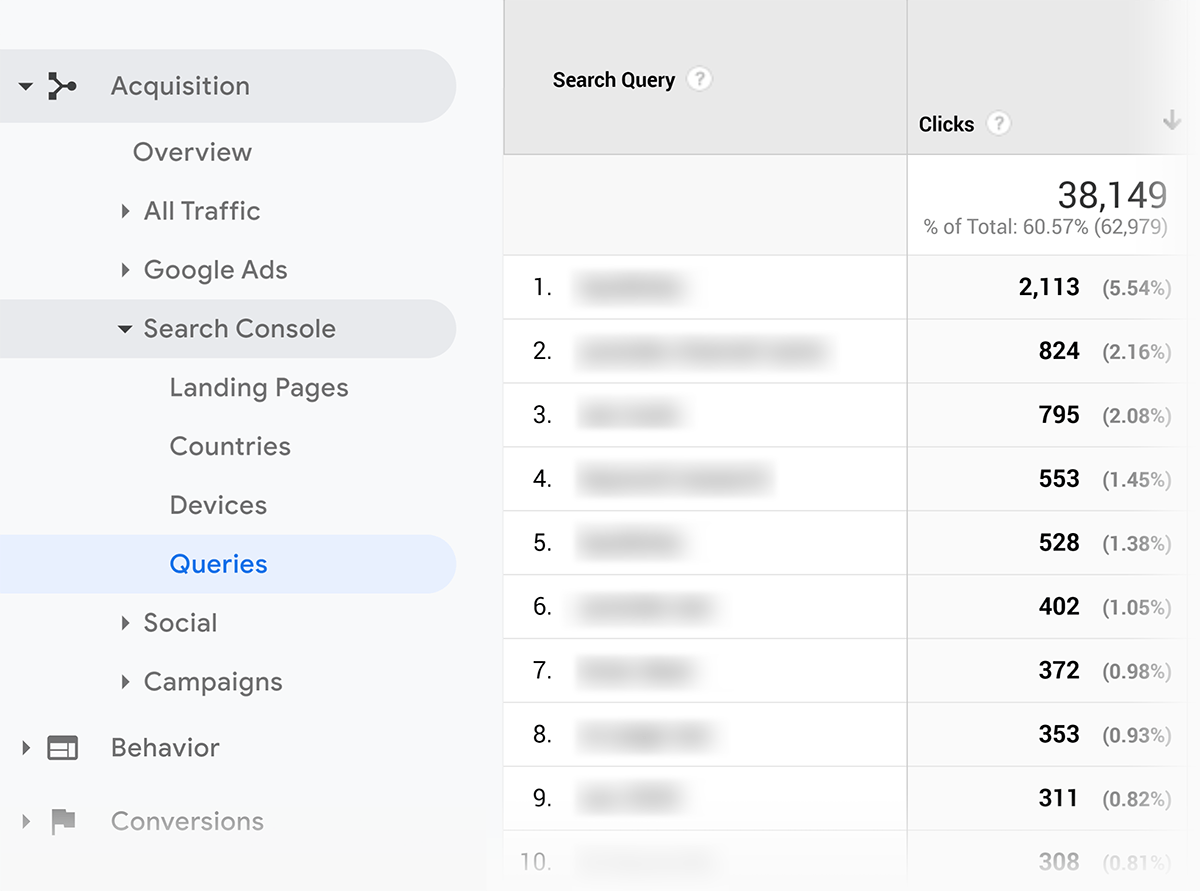
Boom!
Step #4: Check For Security Issues
Finally, check to see if you have any security issues that might be hurting your site’s SEO.
To do that, click “Security Issues”.
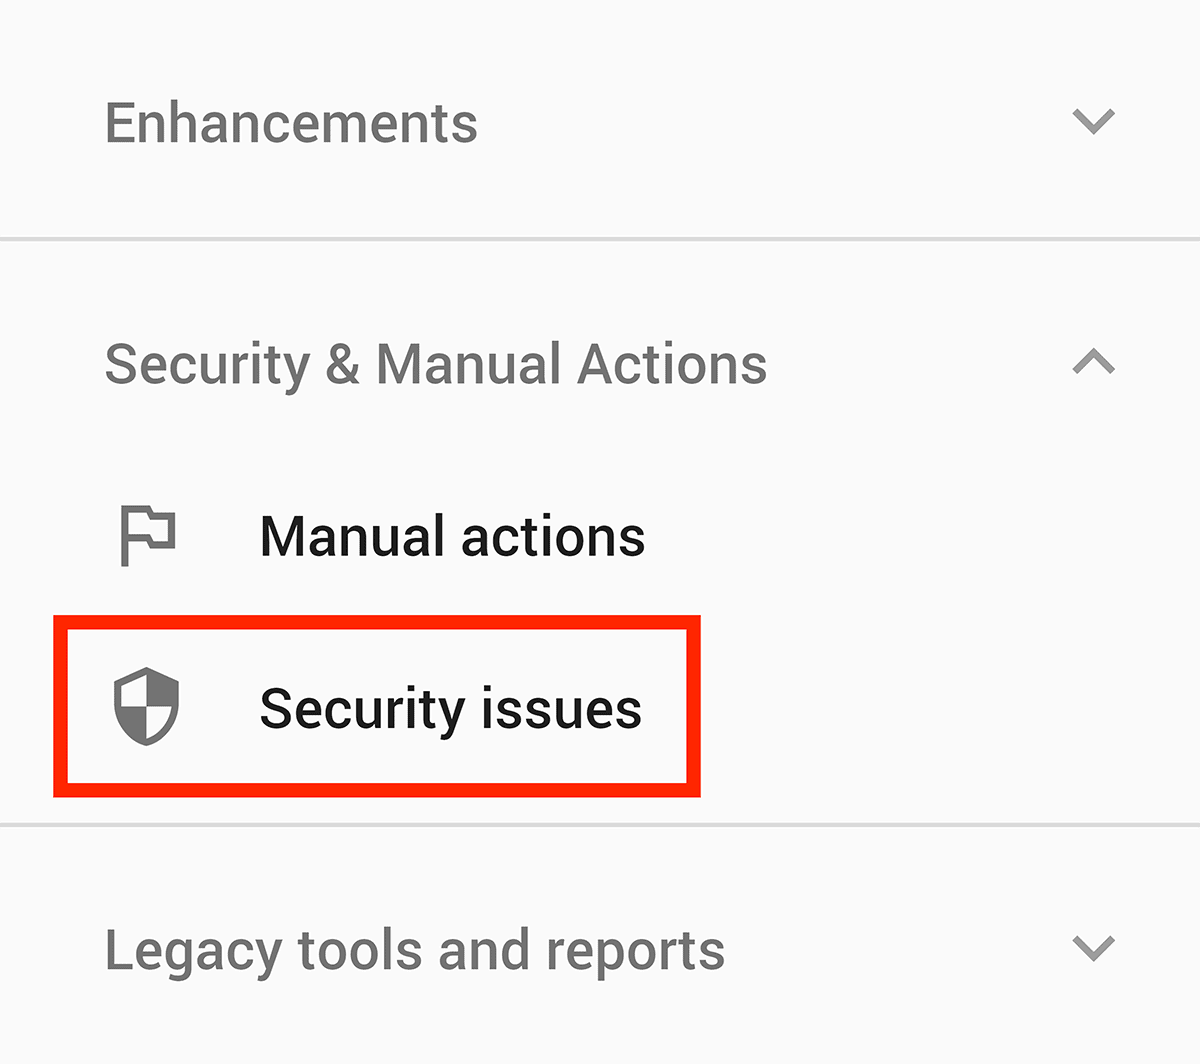
And see what Google says:
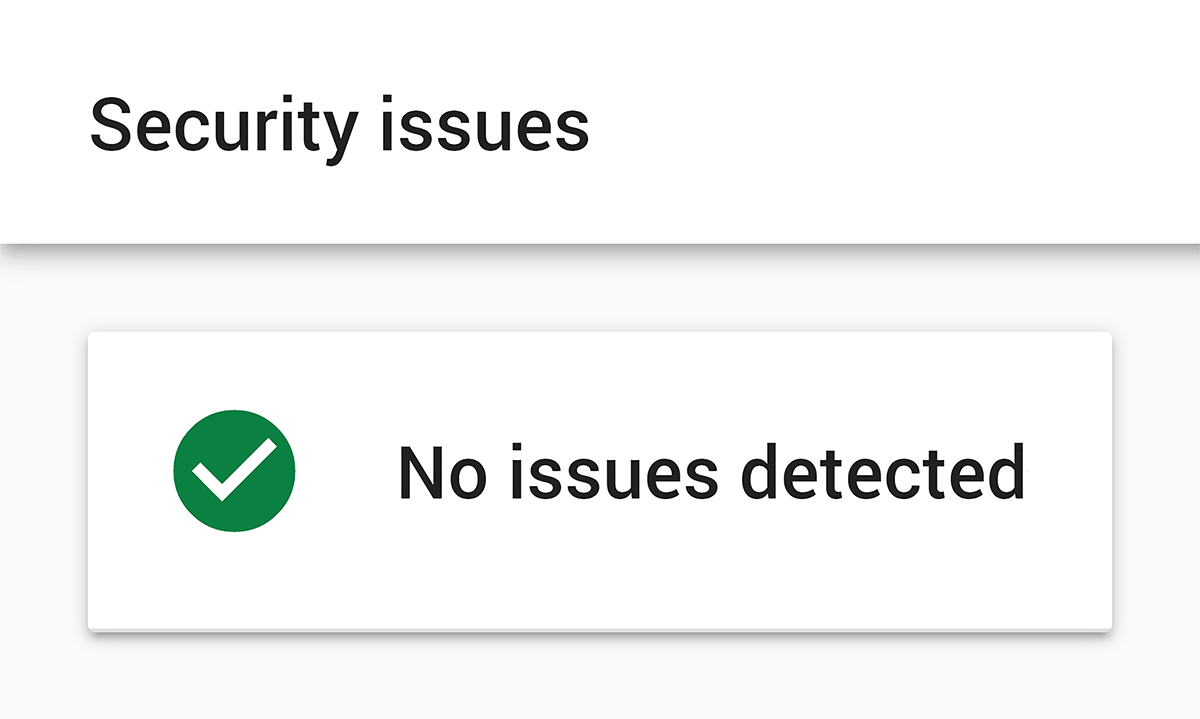
In most cases, as you see here, there aren’t any security problems with my site. But it’s worth checking.
Step #5: Add a Sitemap
I’ll be honest:
If you have a small site, you probably don’t NEED to submit a sitemap to Google.
But for bigger sites (like ecommerce sites with thousands of pages) a sitemap is KEY.
That said: I recommend that you go ahead and submit a sitemap either way.
Here’s how to do it:
First up, you need to create a sitemap. If you’re running WordPress with the Yoast plugin, you should already have one.
If you don’t have a sitemap yet, head over to Yoast. Then, set the XML sitemaps setting to “On” (under “General/Features”):

Click the “See the XML Sitemap” link, which will take you to your sitemap:
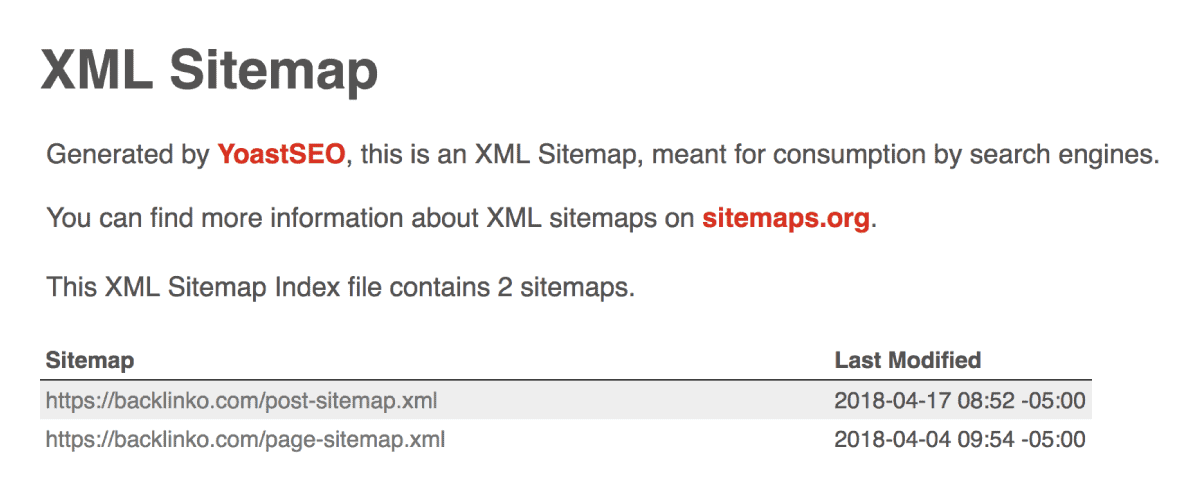
Don’t use Yoast? Go to yoursite.com/sitemap.xml. If you have a sitemap, it’s usually here. If not, you want to create one.
So let’s submit a sitemap to Google.
It’s SUPER easy to do in the new GSC.
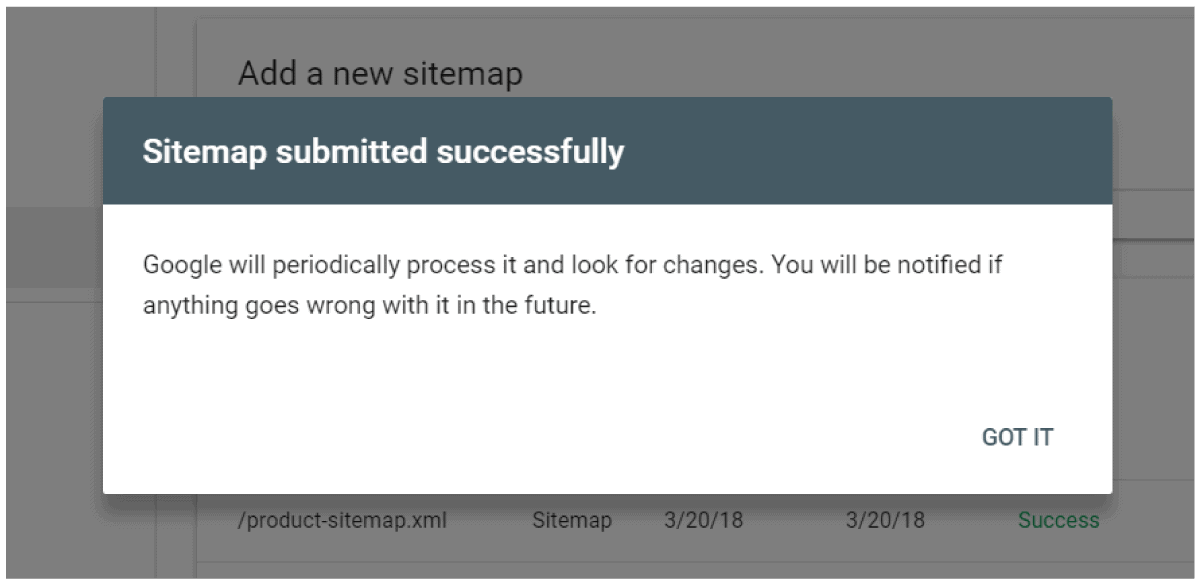
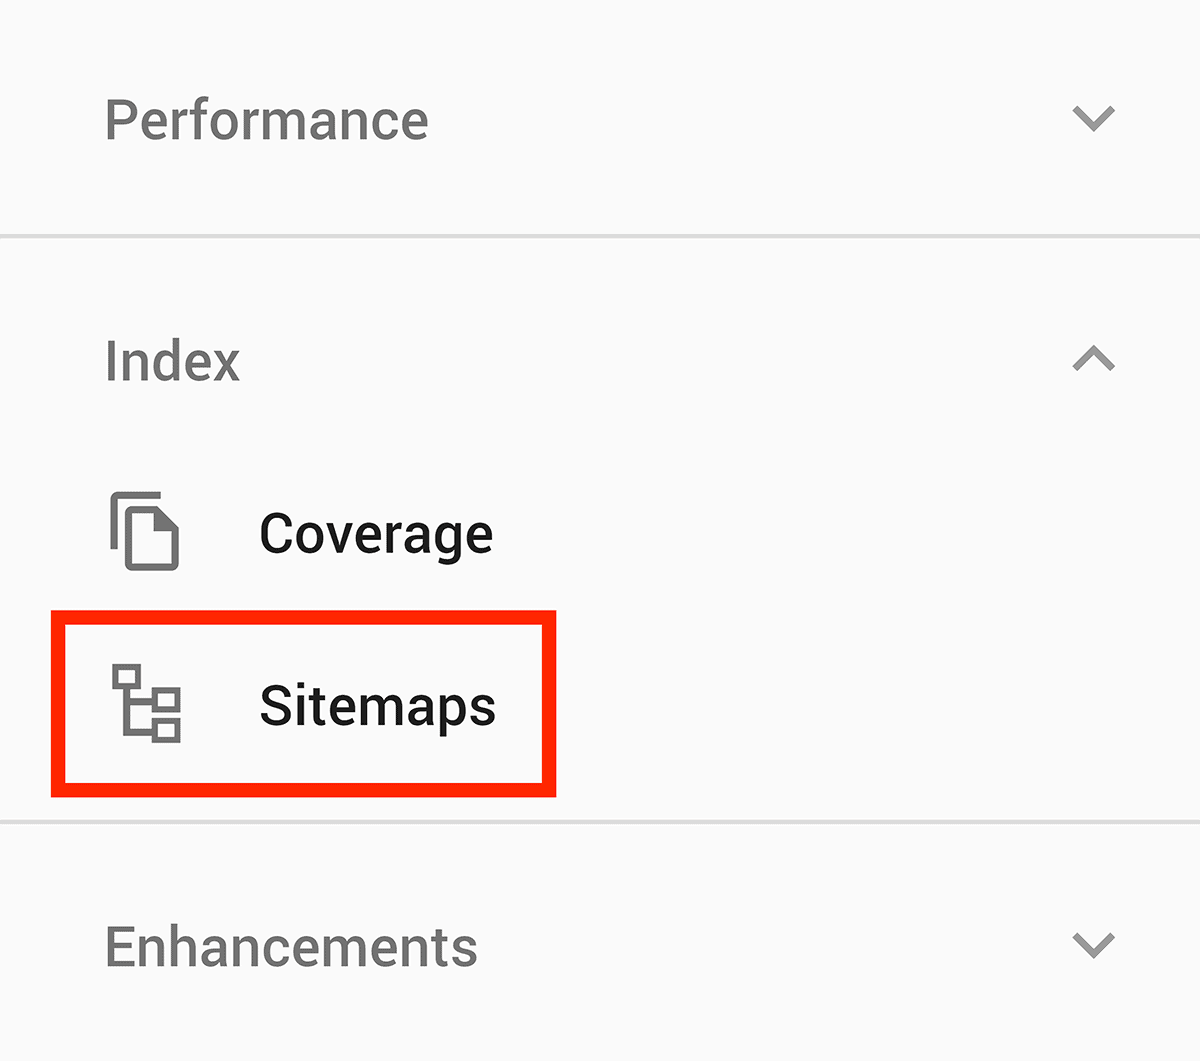
Grab your sitemap URL. Then, hit the “Sitemaps” button.
Paste in your URL and click “Submit”.

And that’s it:
